

In Studio Sports Photos
Check in- In Stratus, confirm the clients first and last name, phone number, email, school or team, grade and sport.
Bring client to the dressing rooms to change. Help bring any gear or equipment to the back.
Set up lights using the guidelines below
Get a good variety of shots including, full body, half body and close ups,
Use the Pose Guide Books for pose references and ideas
You should end up with about 4- 8 poses, about 3 photos each (12-24 Images)
After the session plug in the SD Card and move the photos to the file location below:
SCHOOLDIVISION > _Sports 2024-2025 > __IN STUDIO > {Create a new folder with the Clients name, (First name Last Name_date)}
Put the photos into the folder you created
Open Lightroom and Drag your images in.


Use Preset BLKOUT 7
Editing
7. Use preset BLKOUT 7 for images
if there is a mask delete the mask layer
Click the mask button (1)
Click the mask and hit Delete (2)


8. Crop images to 8x10, 4x5
9. Click sync
10. Use hotkeys to cull images, only keeping the good images,
11. Filter images by good images and export to the same folder as originals in subfolder “cropped”


Uploading to Blueprint
Most players that come in to the studio are stand alone sessions and they should be added to the Sports- INSTUDIO C job
12. Open Blueprint
13. Find job “SPORTS- Instudio (c)”

14. Click on Subjects
15. Click on Create new Subject on the bottom left
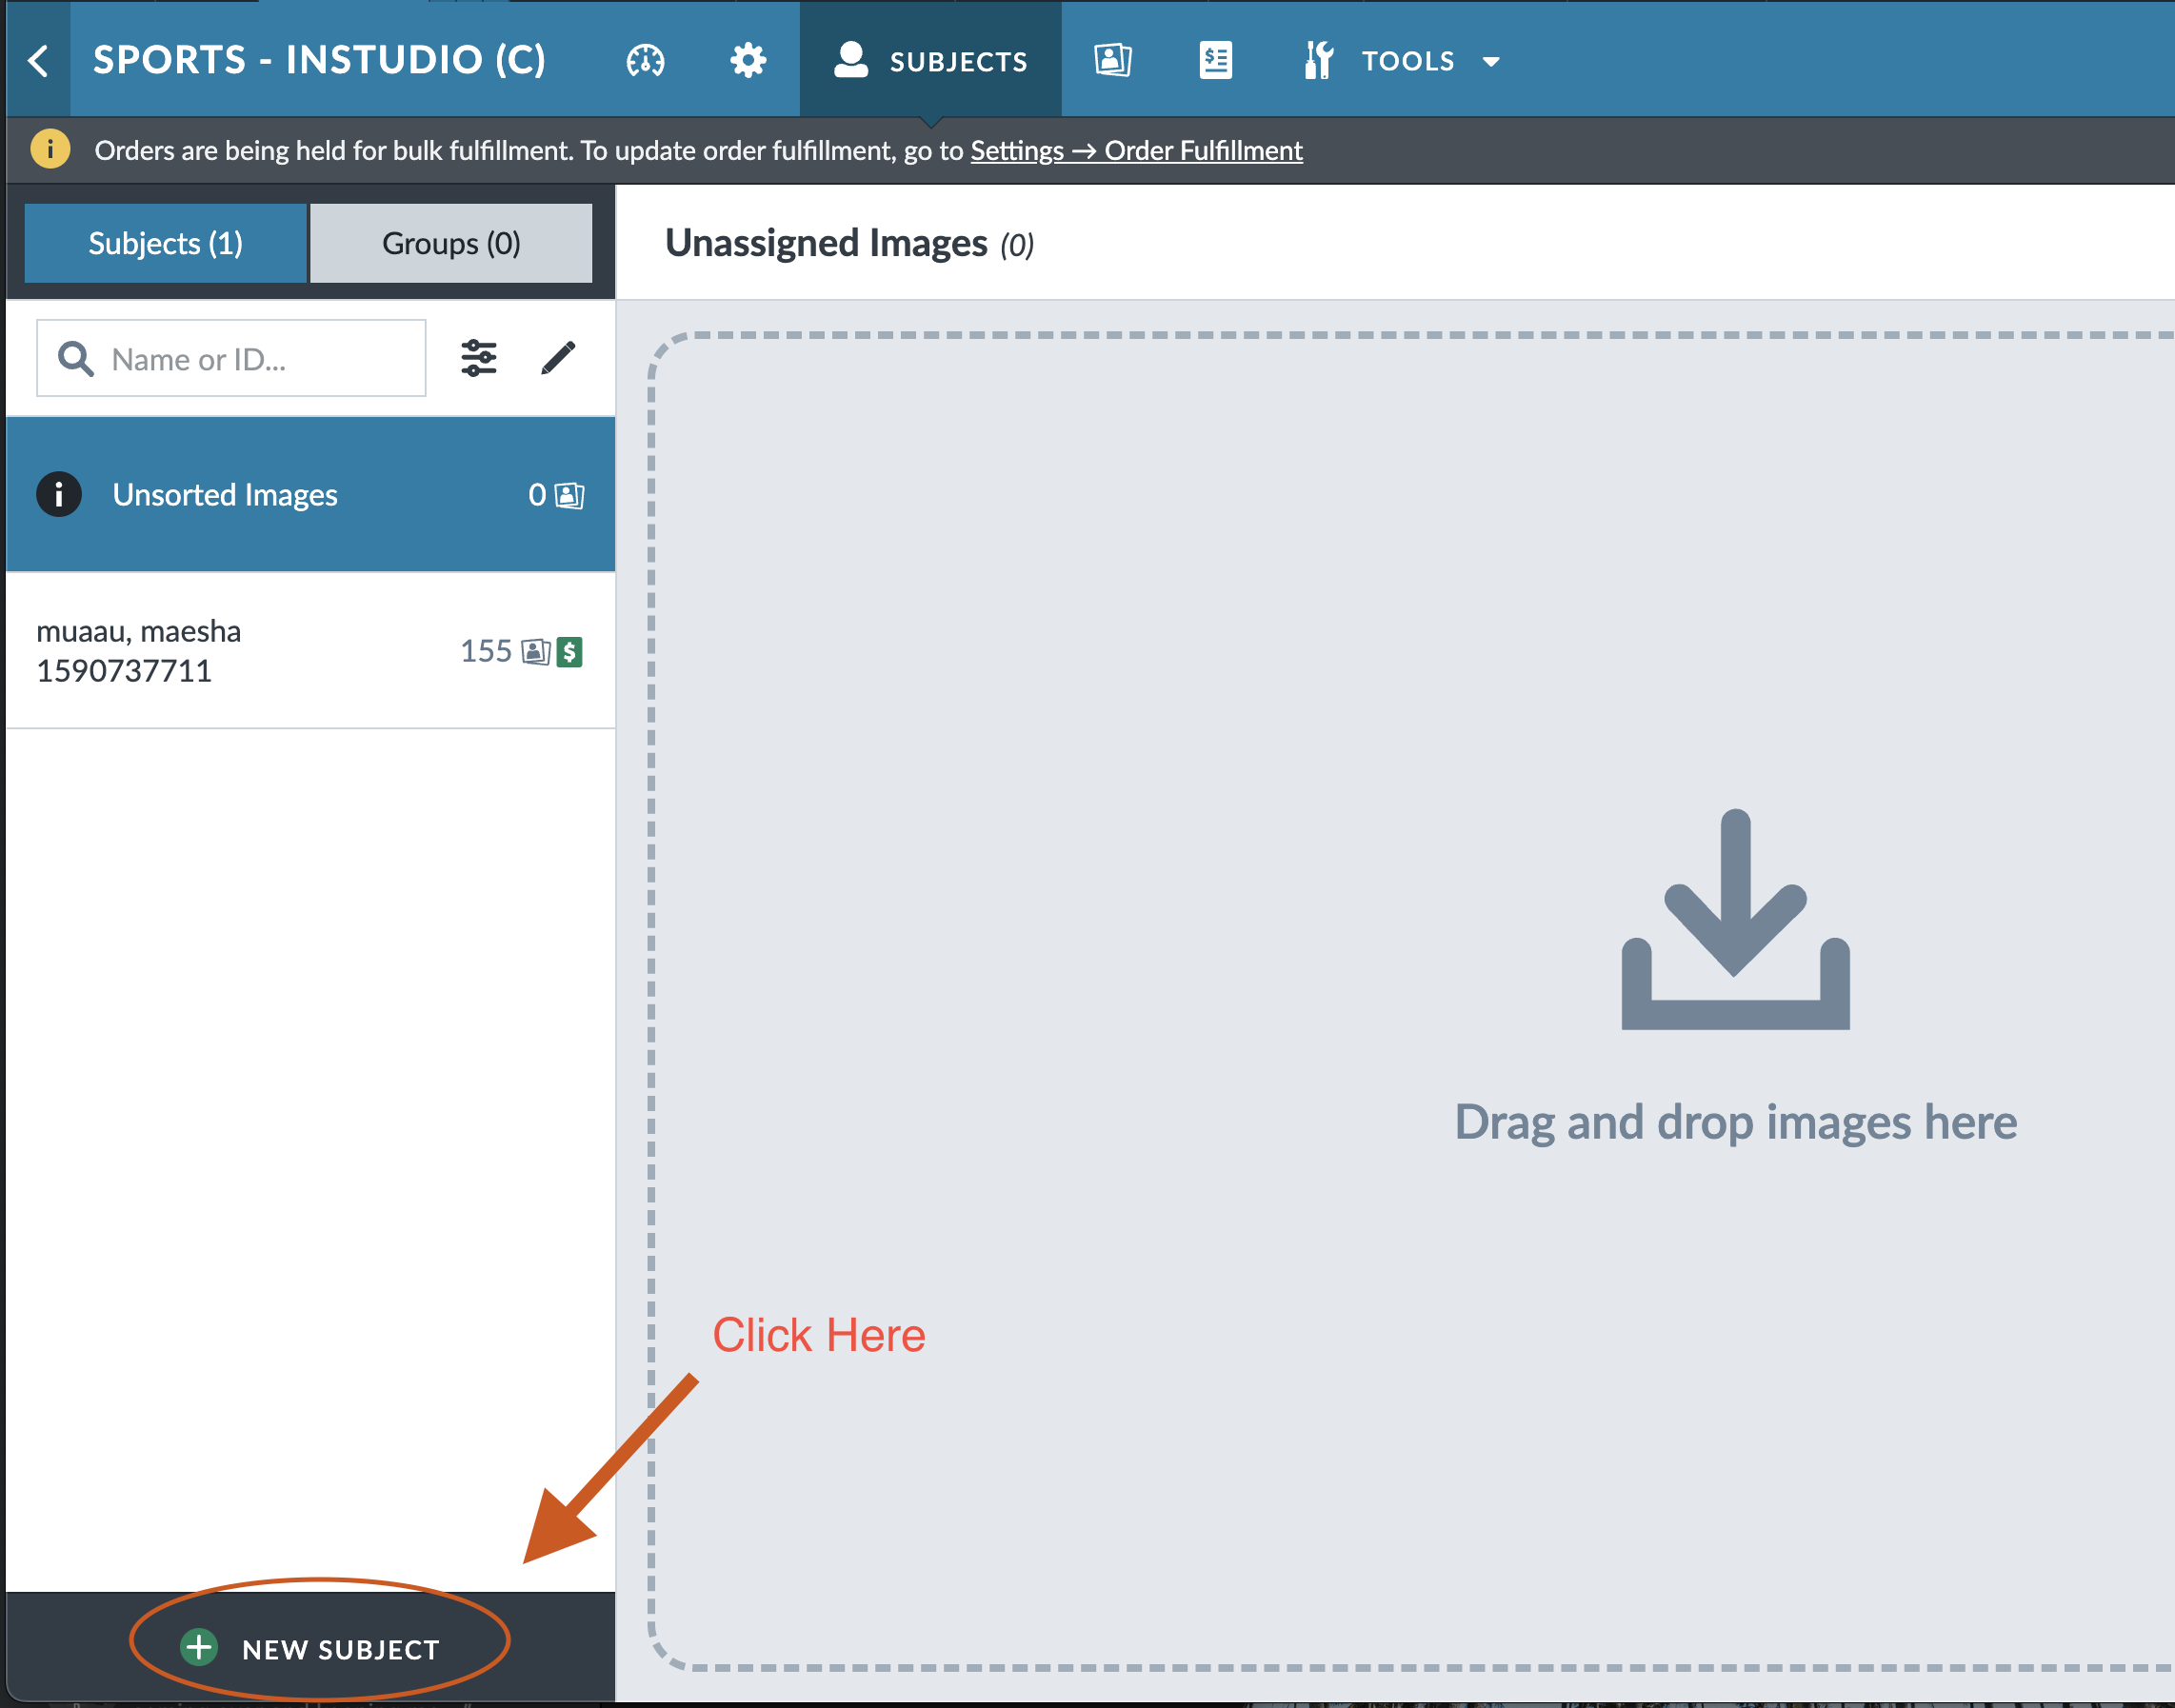
16. Type in the clients first name, last name, phone number, email, and team/school in organization box
17. Click and drag images from the Cropped Folder to the images column

Images will upload to Blueprint.
Click Sync to save images
This may take a couple minutes to complete
Viewing
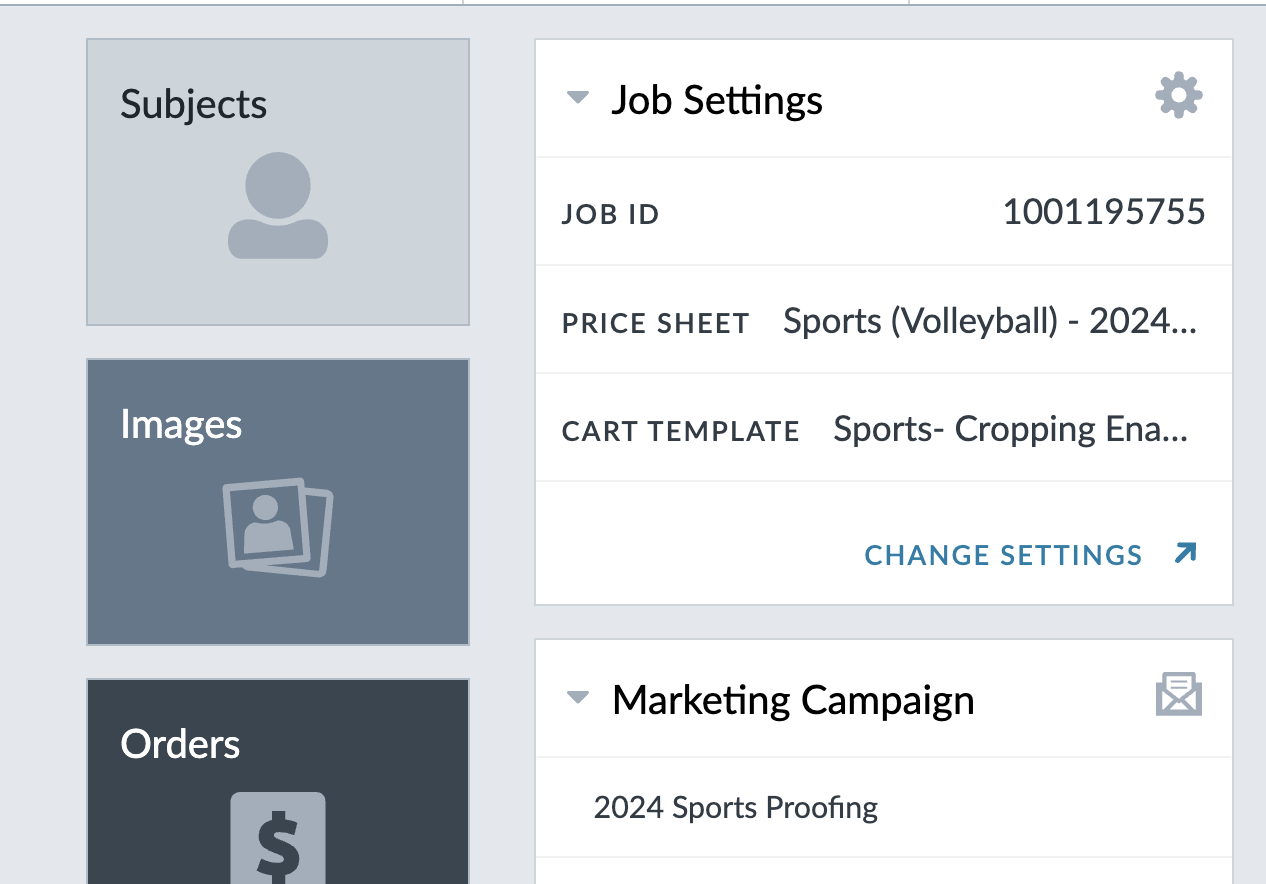
18. Open Blueprint on the viewing station
19. Navigate to the clients profile in the SPORTS- instudio (c) Job
20. Click on the shopping cart icon, view in browser and have the client log in with any email.

21. Let client look at images and change backgrounds. They can also look at packages in the shop tab
Checking Out
If they are paying with card follow these steps
21. When the client is ready select the package they want to get and assign the images and backgrounds appropriately.
22. Make sure to add on the session fee.
23. Collect customer payment info and run-through checkout pages


Camera Settings
Shutter speed at 1/200
ISO is at 100
Aperture f5.6
Set Camera to RAW
White balance is daylight
Picture Profile should be set to Neutral
Focus mode is normally Eye tracking
Shooting Guidelines
Shoot from a low angle (you should be kneeling)
Shoot vertical orientation for most shots.
You are able to shoot horizontally for creative shots
Always shoot a full body and half body shot.
Use the pose book for pose ideas.
You are able to do other poses. Feel free to be creative
Do a smiling and not smiling to get them more shots for them to have in their gallery.
Framing; do not leave excess negative space, and center subject in frame.
These rules can be broken for creative interpretation.
